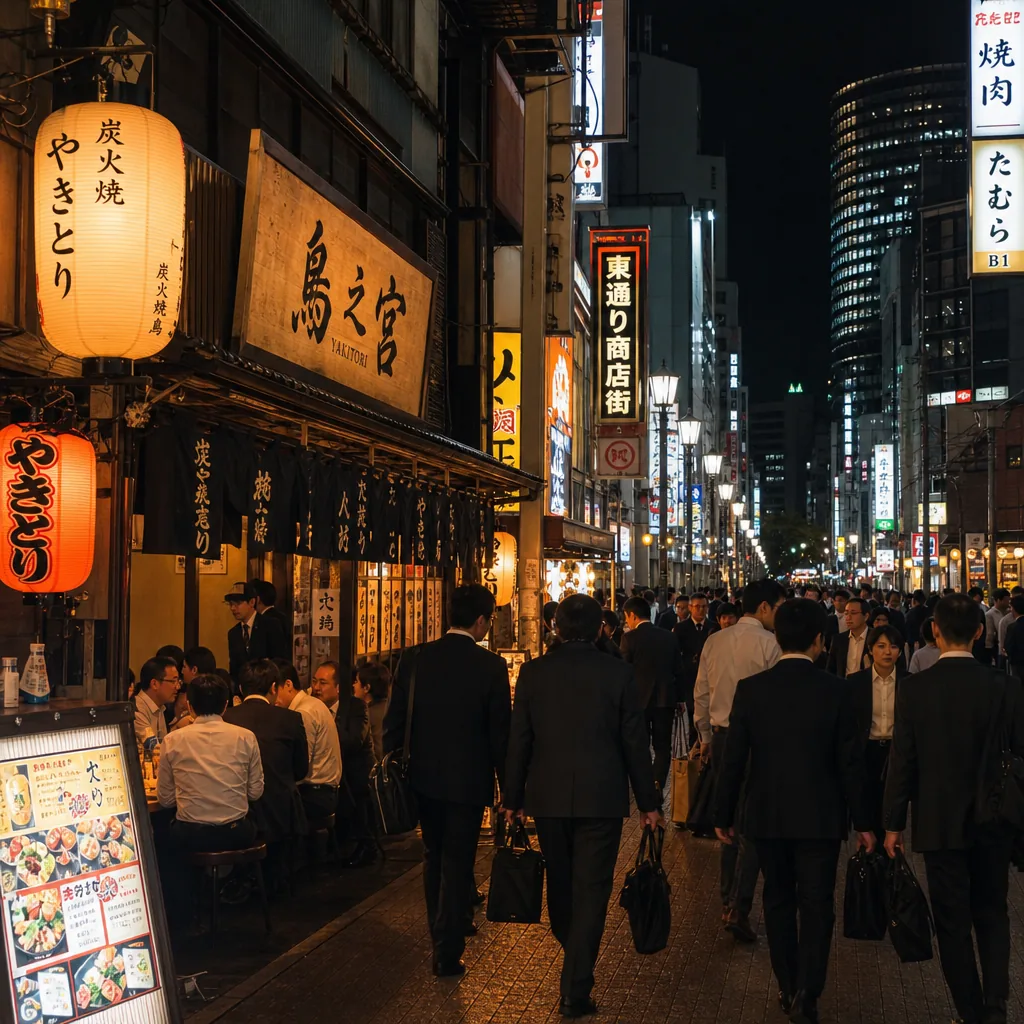
Where can I find english-friendly yakitori in Osaka after work?
Find English-friendly yakitori in Osaka after work by targeting Umeda, Namba, and Honmachi, plus booking sites and multilingual menus.
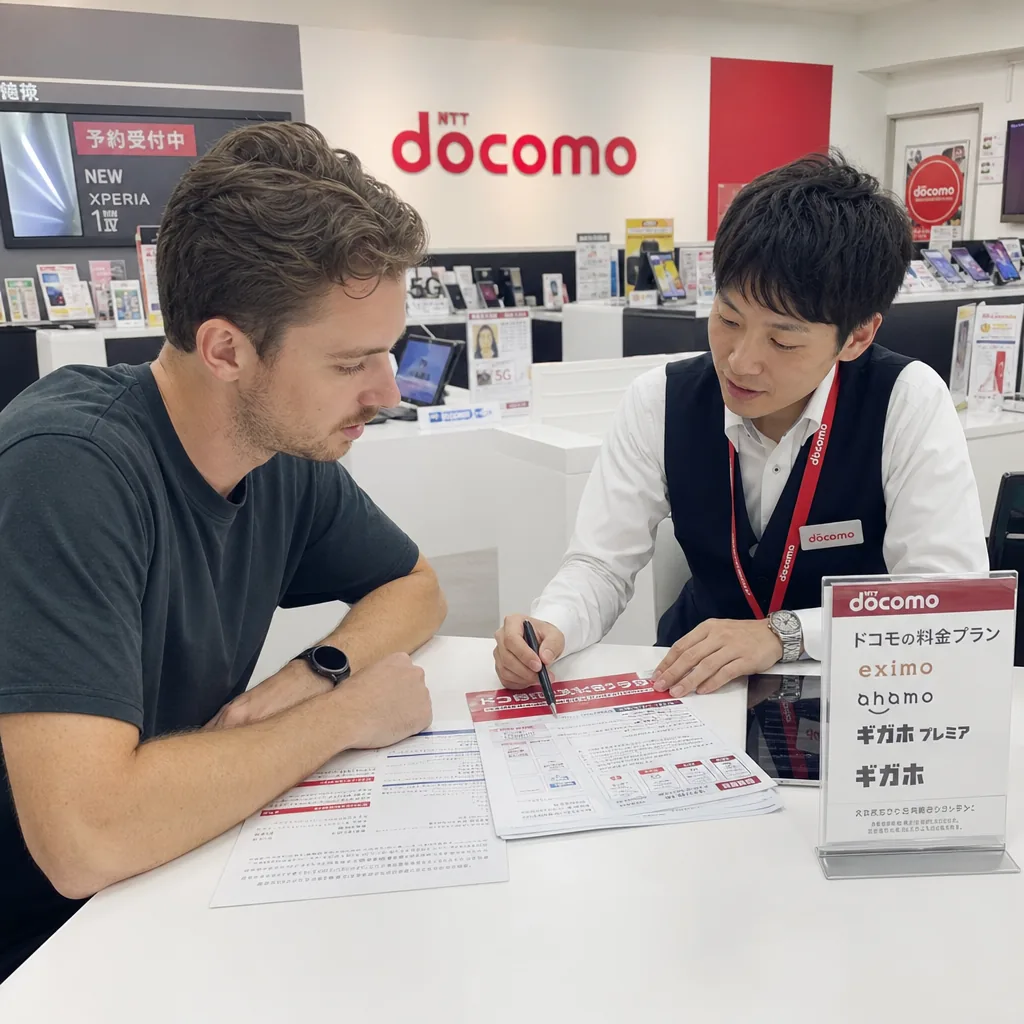
Yes—most expats can set up a Japanese phone plan in Tokyo by choosing a major carrier, MVNO, or prepaid/eSIM option and preparing the right ID and address details. The easiest route depends on how long you will stay, whether you need English support, and whether your phone is unlocked and compatible.
Tokyo offers three practical categories of mobile service: major carrier plans, MVNOs, and prepaid or eSIM-based options. Japan’s telecom market is broad enough that newcomers can choose between full-service contracts and lower-cost plans with fewer extras [1][4].
The main carriers are NTT docomo, au, and SoftBank, plus their low-cost sub-brands. These providers usually have the widest network coverage and the most in-person support, which is helpful if you want to walk into a shop in a station or shopping district. MVNOs, by contrast, lease network capacity from carriers and are often cheaper, but support and activation can be less straightforward [4].
For short stays or a first few weeks in Tokyo, prepaid SIMs or eSIMs can be the simplest bridge option. JNTO notes that visitors and new arrivals can use mobile internet services such as SIM cards and Wi-Fi, and many providers now let you apply online rather than visiting a counter [2].
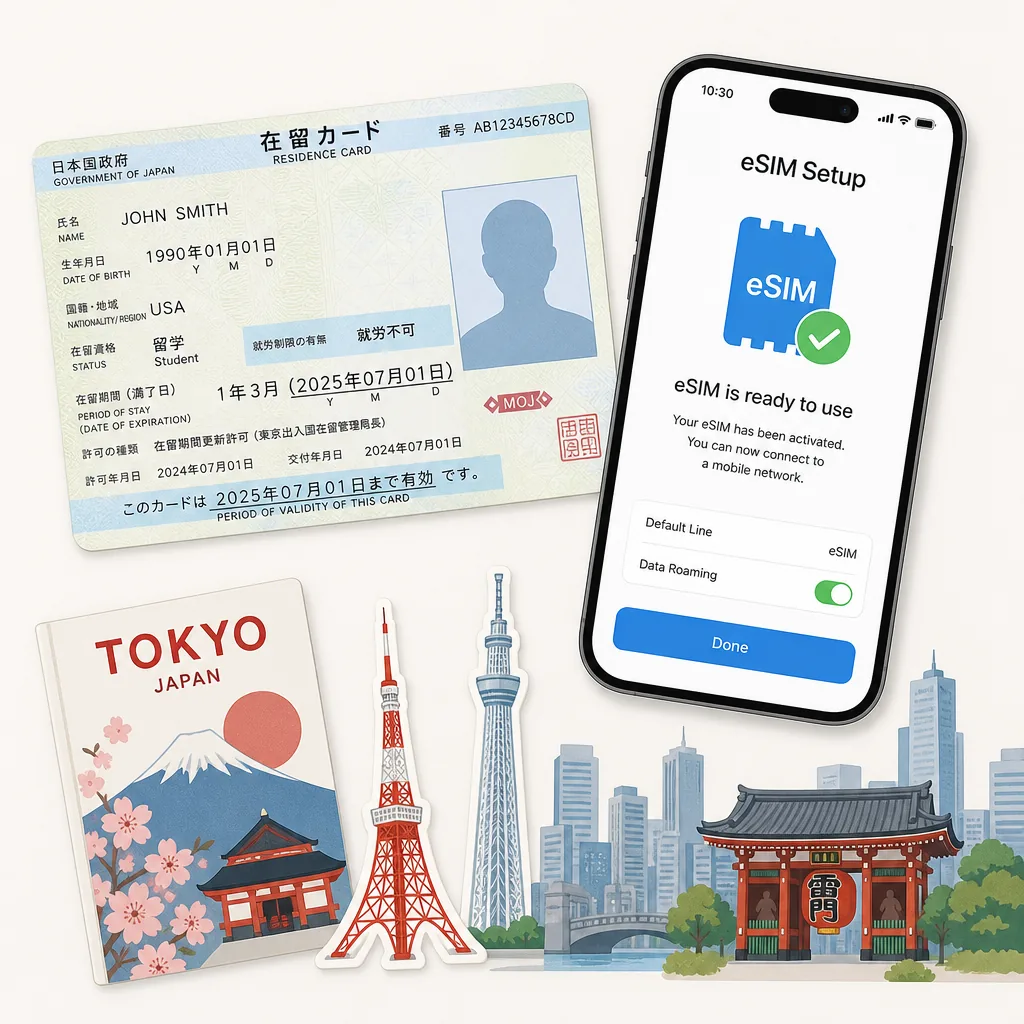
Japanese mobile contracts require identity verification. That usually means presenting acceptable identification and, for many contract plans, providing your current address in Japan [1][5]. The exact documents vary by provider and plan, but common requirements include a residence card and, in some cases, a passport [5].
Tokyo Metropolitan Government’s living information pages also emphasize that newcomers should keep their residence details accurate, because many daily-life services in Japan depend on your registered address [3]. If your address is still temporary, some providers may be difficult to sign up with in-store, especially for postpaid contracts. In practice, that makes prepaid SIMs and some eSIM services useful as a temporary fallback.
Before you go to a shop, confirm whether the provider accepts your chosen ID, whether your name must match exactly across documents, and whether a Japanese phone number or bank account is needed for billing. For contract plans, those details often matter as much as the mobile plan itself [1][5].
If you need the smoothest long-term setup, a major carrier is usually the safest choice. You will typically pay more, but you gain broader store support and fewer compatibility surprises. Tokyo shops in major hubs such as Shinjuku, Shibuya, and Ikebukuro commonly serve new customers, though English help depends on the branch and staff on duty.
MVNOs are the budget-friendly option. MIC’s overview of mobile providers shows that independent operators play a significant role in Japan’s market, which is why you will see many lower-priced plans with limited data packages [4]. The trade-off is that activation may require more self-service, and customer support can be less convenient if something goes wrong.
Prepaid and eSIM plans are best if you need immediate connectivity without a long contract. They are especially useful when you have not yet settled your address or are waiting for your residence card. If you want to keep a number for the long term, check whether the provider supports number portability and whether your phone is SIM-unlocked before you sign up [2][5].
Expats often sign up at carrier shops in major station areas because those locations are easy to reach and usually have staff experienced with new contracts. In Tokyo, that often means visiting branches around Shinjuku Station, Shibuya Station, Tokyo Station, or Ikebukuro Station. These neighborhoods are practical because they have many telecom shops clustered near transport hubs and commercial centers.
Docomo’s application guidance confirms that in-store sign-up and identity verification are standard parts of opening a plan [5]. In Tokyo, appointments are often recommended or required to reduce waiting time, especially at larger branches. If you need English assistance, it is smart to check the branch website first rather than assuming every store will have it on the day you visit.
Some expats also prefer to start online and pick up a SIM or activate eSIM at home. That can save time, especially if your schedule is tight after arriving in the city. JNTO notes that Japan has a range of telecom options for travelers and residents, which makes it possible to match the service method to your timeline [2].
The setup process in Tokyo is usually straightforward if you prepare ahead. The biggest delay is often not the network itself, but document checks and plan selection. Many providers can complete the process the same day if you have the correct ID and a compatible phone [1][5].
One common mistake is assuming every shop can handle English smoothly. Tokyo has many international-friendly services, but support varies by location, so it is best to check before you travel across the city. Another mistake is signing a plan before confirming that your address and ID documents are acceptable for that provider [1][5].
Finally, do not overbuy data just because the plan sounds simple. In Tokyo, you may be able to rely on train-station Wi-Fi, cafe Wi-Fi, or home internet for part of your usage, but your daily needs should drive the mobile plan size—not the other way around. A smaller MVNO data plan may be enough if most of your heavy internet use happens on Wi-Fi.
Can I get a phone plan right after arriving in Tokyo? Yes, but prepaid or eSIM options are usually easier immediately after arrival because they may require fewer contract documents than postpaid plans [2][5].
Do I need a Japanese bank account? Not always. Some plans can be paid by card, but many contract plans are easier if you already have local payment details. Check the provider’s sign-up page before visiting.
Should I choose a major carrier or MVNO? If you want the least stressful in-person setup in Tokyo, a major carrier is safer. If budget is your priority and you are comfortable self-managing setup, an MVNO may be the better fit [4].
Can I keep my number if I switch later? Often yes, but confirm number portability rules before opening the account. That matters if you start with a prepaid or short-term option and later move to a long-term contract [5].
For most expats in Tokyo, the best strategy is simple: start with the least complicated option that matches your current paperwork, then upgrade later if needed. That approach minimizes delays, avoids unnecessary contract friction, and gets you connected faster in one of the world’s most mobile-first cities.
CallButler is a multilingual concierge service that handles research, coordination, and bookings so you do not have to navigate language barriers or unfamiliar systems alone. If you need help related to How do I set up a Japanese phone plan in Tokyo as an expat? or the tasks around it, our team can step in to manage the details and keep things moving smoothly.
Find English-friendly yakitori in Osaka after work by targeting Umeda, Namba, and Honmachi, plus booking sites and multilingual menus.
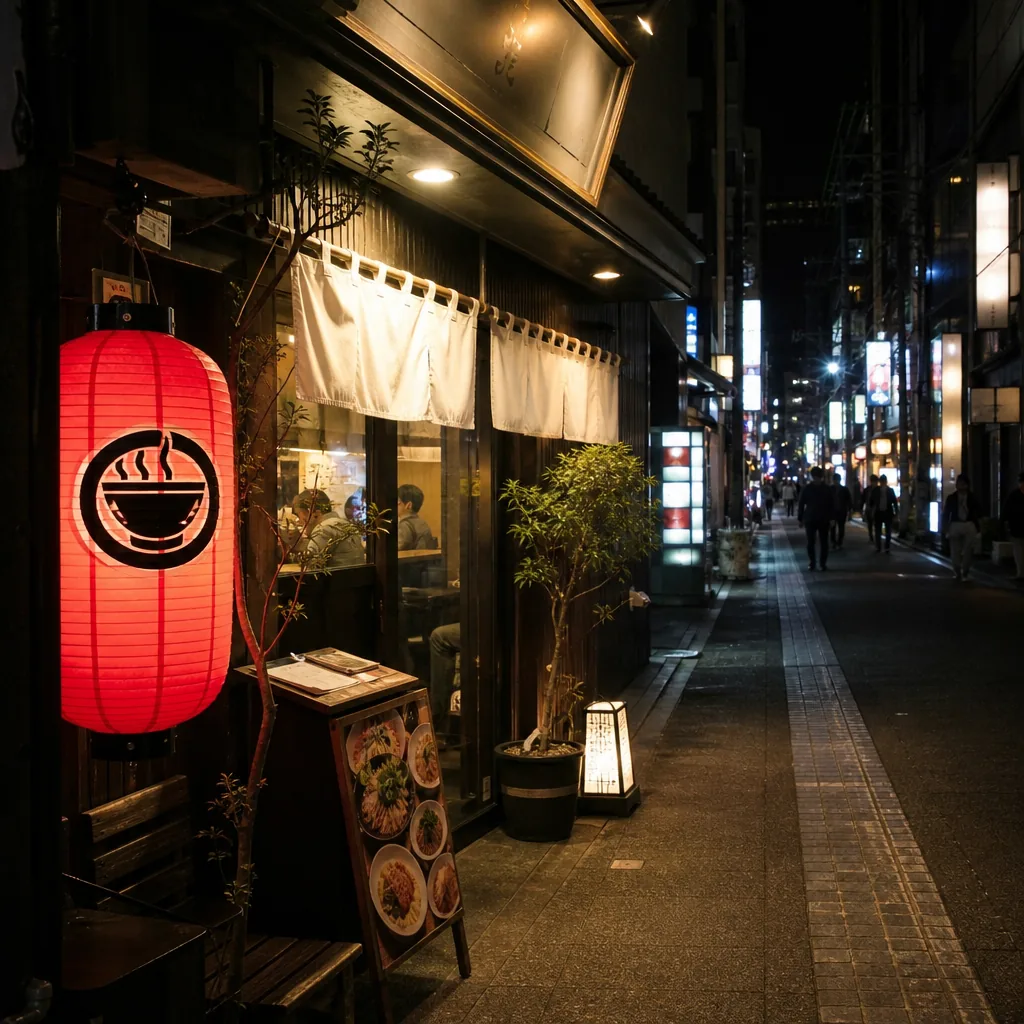
Looking for halal ramen in Kyoto after 10 p.m.? Here’s where to check, which areas are most practical, and how to verify hours and halal status.
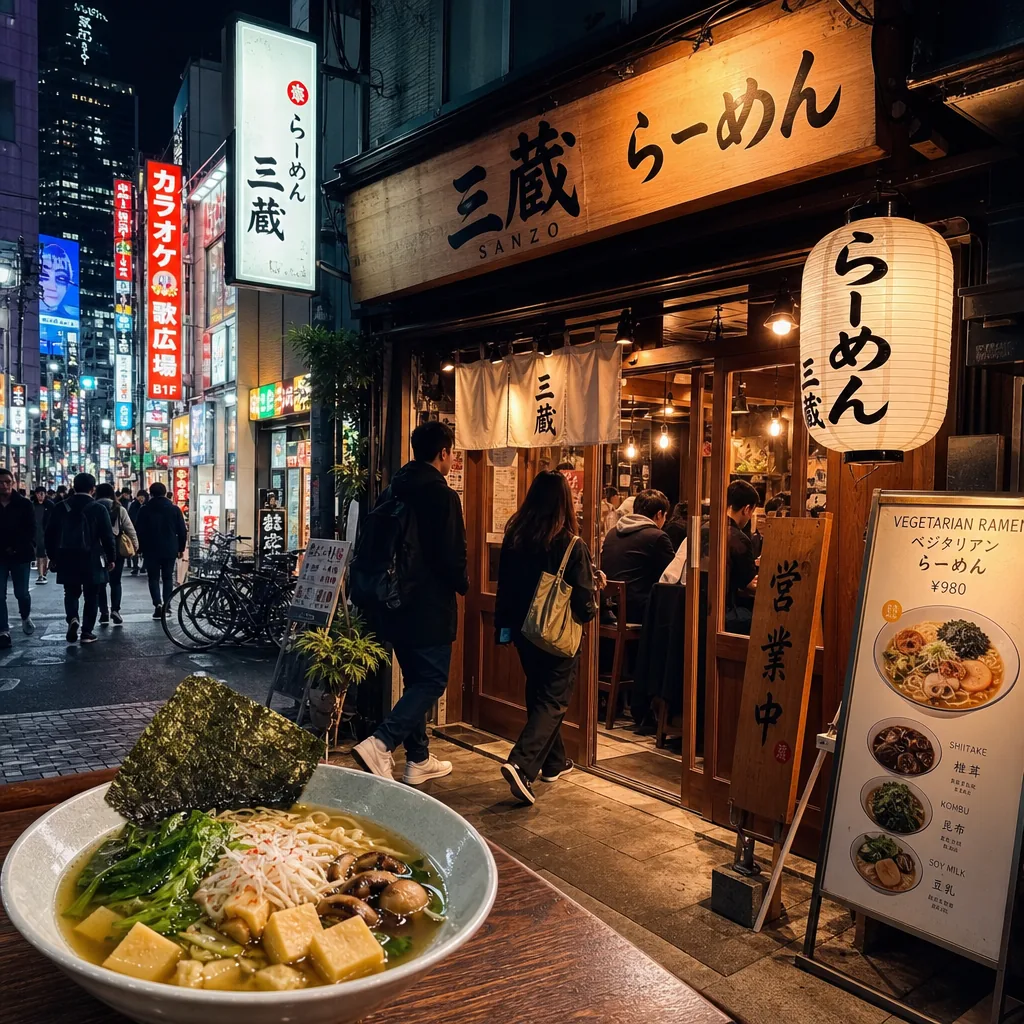
Find late-night vegetarian ramen in Tokyo by focusing on Shibuya, Shinjuku, and Roppongi, then verify broth, hours, and vegan menu details.