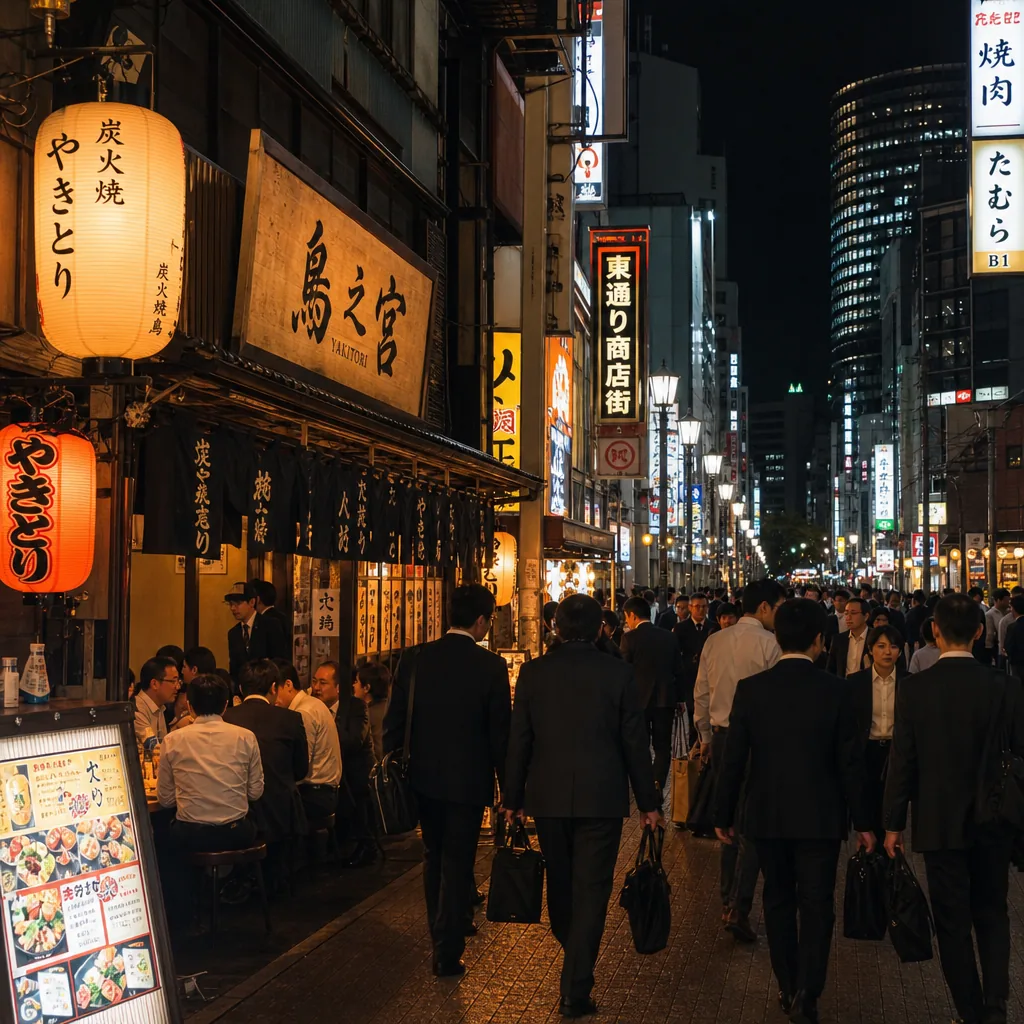
Where can I find english-friendly yakitori in Osaka after work?
Find English-friendly yakitori in Osaka after work by targeting Umeda, Namba, and Honmachi, plus booking sites and multilingual menus.
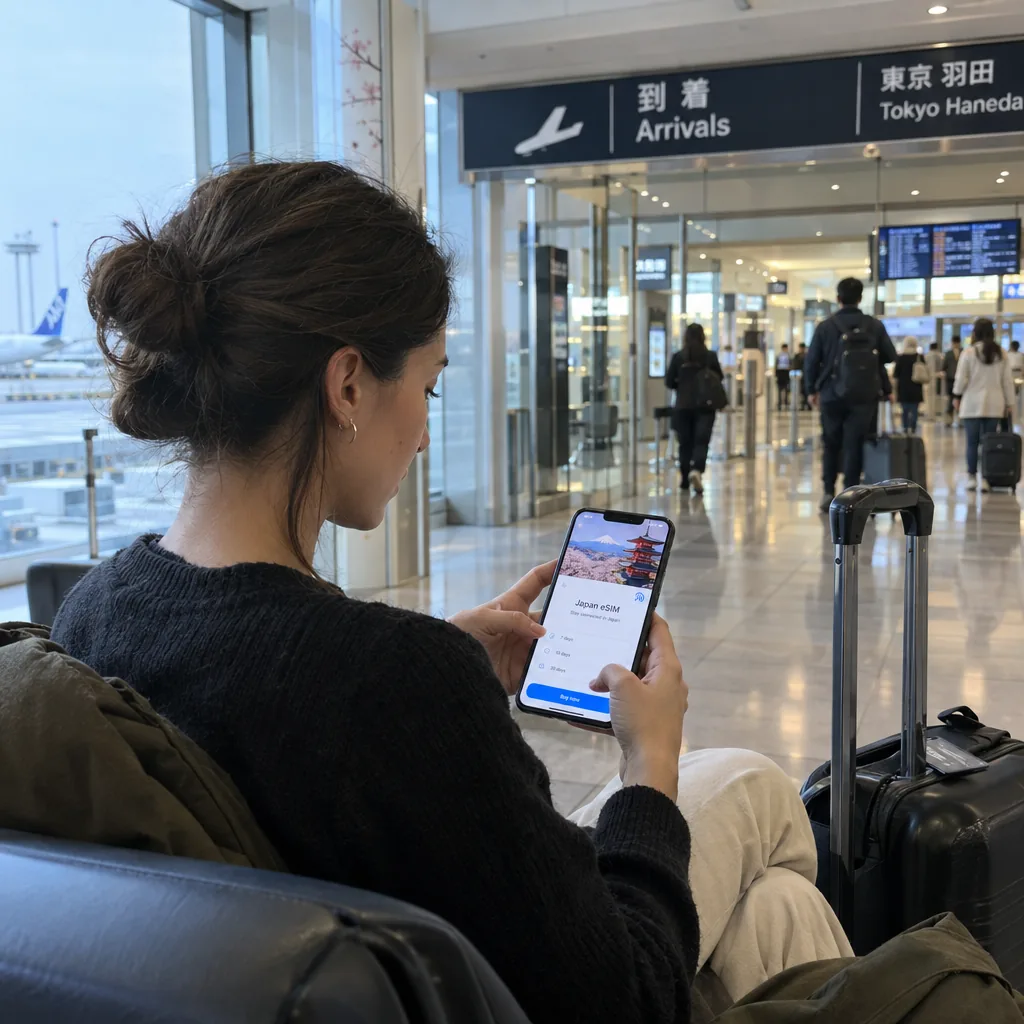
You can get a Japan travel eSIM after landing at Tokyo’s Haneda Airport by connecting to airport Wi-Fi, buying a suitable plan online and installing it on your phone. Before paying, confirm that your exact device supports eSIM and is carrier-unlocked, then check whether you need only internet access or a Japanese number for calls and SMS. Stay connected to airport Wi-Fi until installation and a mobile-data test are complete. [1][2][3][4]
Check compatibility before comparing prices. The model name alone is not enough: regional variants can have different eSIM capabilities. Apple’s guidance identifies supported iPhones and regional exceptions; for another brand, consult the manufacturer’s information and the provider’s compatibility requirements. [1][3][4]
On an iPhone, open Settings > General > About and look for Carrier Lock. “No SIM restrictions” means the device is unlocked. Apple says using plans from two different carriers requires an unlocked iPhone; if yours is locked, contact your home carrier rather than assuming a travel eSIM will bypass the restriction. [1]
At Haneda Airport Terminal 1, Haneda Airport Terminal 2 or Haneda Airport Terminal 3, look for the official HANEDA-FREE-WIFI network. Select it in your Wi-Fi settings and follow the airport’s connection instructions. Use the official airport guidance rather than choosing a similarly named network. [2]
Once connected, open a webpage to confirm that internet access works. You can then compare providers, complete payment and download the eSIM without using your home SIM’s mobile data. Sakura Mobile and Mobal advertise Japan eSIM services online, so finding a physical SIM counter is not necessarily required. However, check each product’s delivery and activation requirements before treating it as immediately usable. [3][4]
A data-only eSIM suits travelers who mainly need maps, web searches, messaging apps and internet calls. It does not, by itself, give you a Japanese mobile number for ordinary calls or SMS. Mobal lists data-only and voice-capable Japan eSIM options separately, making this an important distinction when choosing a product. [4]
If a Tokyo restaurant, appointment service or booking form asks for a Japanese phone number, check what it actually requires. A contact-number field and an SMS verification step are different needs. Confirm the plan’s number, calling and SMS capabilities before purchasing; a large data allowance does not solve a phone-number requirement. [4]
Compare the following details on the specific product page, not just the provider’s homepage: [3][4]
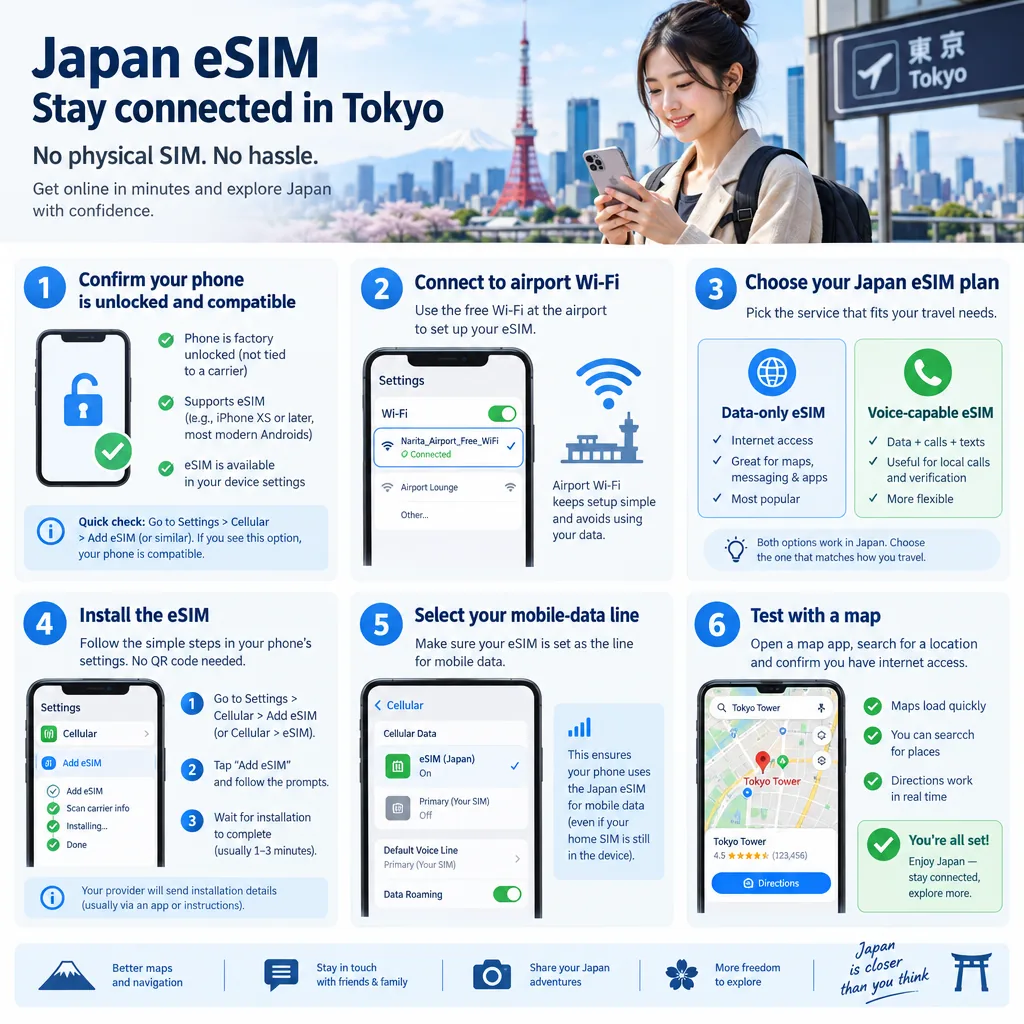
Do not assume every plan starts at the same moment. Before paying, establish whether validity begins at purchase, installation, manual activation or first connection in Japan. Also check the final checkout price and whether the product you selected is data-only or voice-capable. Provider terms, rather than the general label “Japan eSIM,” determine what you receive. [3][4]
Apple documents several eSIM setup methods, including QR codes, carrier apps and manual entry. If the QR code arrives on the same phone you are setting up, follow the provider’s same-device instructions or display it on another screen. Do not assume you must print it. [1]
After installation, select the new eSIM as your mobile-data line. Giving it a recognizable label, such as “Tokyo travel,” can help distinguish it from your home line. Enable data roaming on the travel line only if the provider’s instructions require it. Review your home line’s roaming and cellular-data switching settings to reduce the risk of unexpected home-carrier charges. [1][3][4]
Before leaving Wi-Fi coverage, temporarily turn Wi-Fi off and load a fresh webpage or map search. Seeing the eSIM listed in settings is not proof that mobile data works. If you purchased voice service, also follow the provider’s instructions for checking its calling and SMS functions. [1][4]
If the test fails, reconnect to HANEDA-FREE-WIFI and check the selected data line, activation status and provider instructions. Recheck any required roaming setting or manual network details. Avoid deleting the eSIM as your first troubleshooting step: reinstallation and replacement rules vary by product. [1][2][3][4]
Keep your order number and setup instructions accessible, and contact the provider if those checks do not resolve the problem. The practical goal is a working connection before you leave Haneda—not merely a successful payment confirmation.
CallButler is a multilingual concierge service that handles research, coordination, and bookings so you do not have to navigate language barriers or unfamiliar systems alone. If you need help related to How do I get a Japan mobile eSIM in Tokyo after landing? or the tasks around it, our team can step in to manage the details and keep things moving smoothly.
Find English-friendly yakitori in Osaka after work by targeting Umeda, Namba, and Honmachi, plus booking sites and multilingual menus.
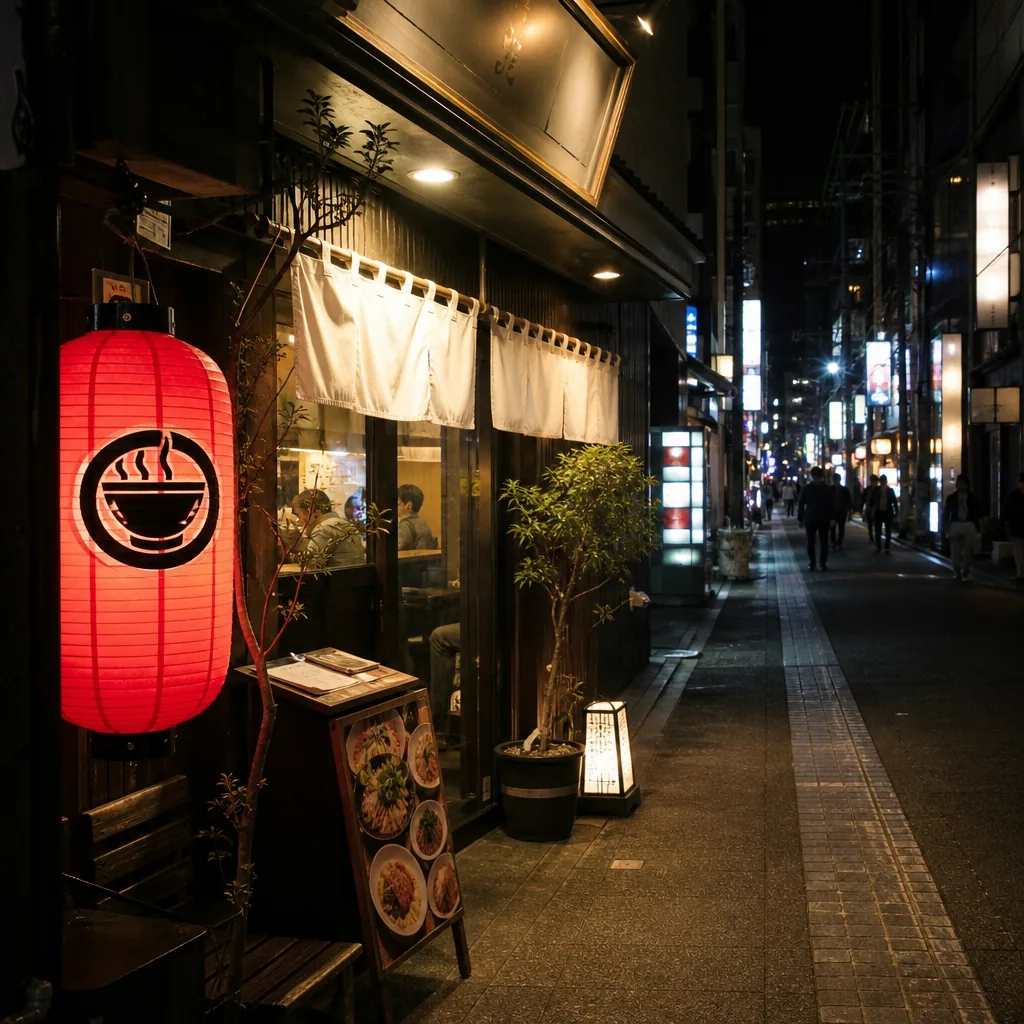
Looking for halal ramen in Kyoto after 10 p.m.? Here’s where to check, which areas are most practical, and how to verify hours and halal status.
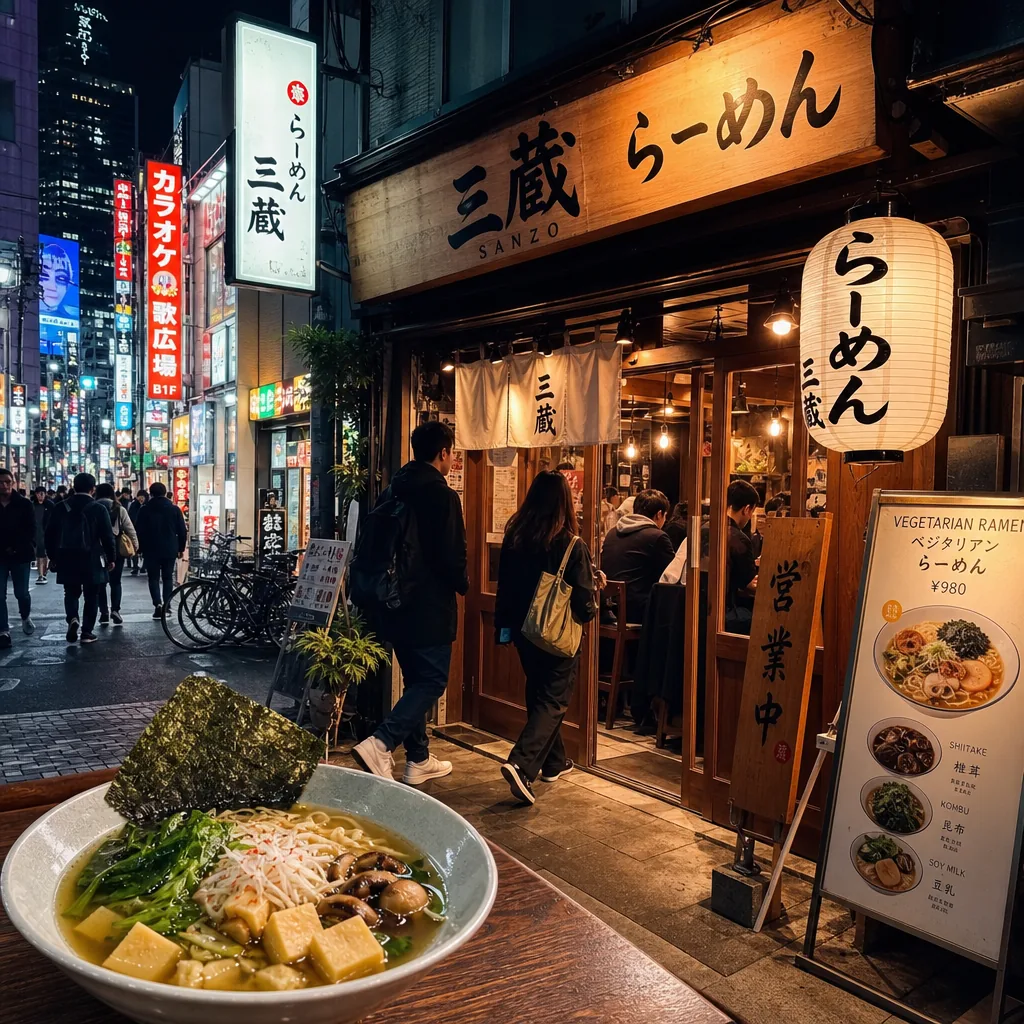
Find late-night vegetarian ramen in Tokyo by focusing on Shibuya, Shinjuku, and Roppongi, then verify broth, hours, and vegan menu details.